
🔋⏰
A secure home is a happy home, and one of the simplest ways to ensure safety is by maintaining reliable smoke detectors on every floor. Although these devices sometimes get a bad reputation for going off when you’re cooking, lighting candles, or even using spray cleaners too close to the sensors, smoke detectors are incredibly helpful in keeping you and your family safe from excessive smoke and fire emergencies.
Most residential smoke detectors operate on battery power rather than being hardwired. To keep your smoke detector functioning properly, it is important to regularly change the batteries. Below, we provide instructions on how to safely replace your smoke detector batteries and keep them in good working condition.
When to Replace Your Smoke Detector Battery
🔔🔋
According to fire safety experts, it is recommended to replace the batteries in your smoke detector twice a year or every six months. Don’t worry if you forget because your smoke detector will start annoyingly beeping when the battery level gets low to remind you that it’s time for new batteries.
What Type of Battery Does My Smoke Detector Use?
🔋🔍
The most common type of battery used in smoke detectors is a 9-volt battery. However, some newer models may require two or three AA batteries. It’s important to check the user manual or examine the expired battery carefully before heading to the store to avoid purchasing the wrong type. Consider bringing one of the old batteries with you to the store for comparison.
How to Replace the Smoke Detector Battery
🔋🔧⬇️
The trickiest part is figuring out which smoke detector is beeping. Once you’ve identified the offender, it will only take a few minutes to replace the battery.
Materials: 🔸 Ladder 🔸 Battery 🔸 Screwdriver
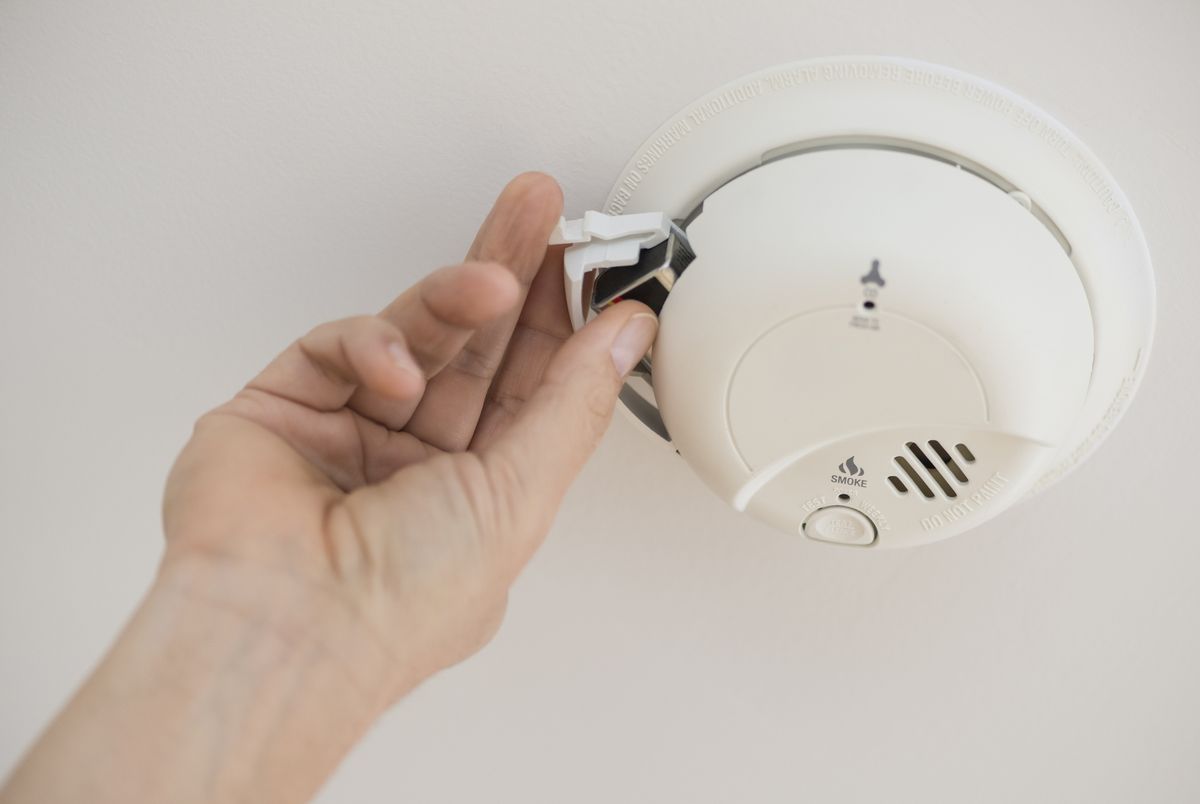
Step One: Remove the Detector
🔨
If needed, position the ladder securely under the smoke detector on a stable surface, and climb up carefully. Determine whether you need a screwdriver. While most smoke detector models require twisting (counter-clockwise or left) to remove them from the backplate mounted on the ceiling, some models may have a plastic lock that requires a screwdriver. Consult your model’s user manual to find the best method for opening the detector, then detach it from the backplate on the ceiling.
Step Two: Replace the Battery
🔋🔄
Once you have removed the detector, locate the battery, remove it, and insert a new identical one. Before reattaching the detector, ensure that the negative and positive ends of the battery are properly aligned. Otherwise, it will not work, and you will have to remove it again.
Step Three: Test the Alarm
📢
Before completing the reinstallation of the smoke detector, ensure that the new batteries are functioning correctly. All smoke detector models feature a test button. Find this button and press it down for a few seconds to activate it. Warning: It may be quite loud.
If the smoke detector beeps, you’re all set. If there is no sound, try reconnecting the battery or using a different new battery. If the issue persists, your smoke detector may need replacement.
Step Four: Replace the Cover
🔙
If the test was successful, you can proceed to put the smoke detector back in place. Depending on your model, twist it to the right or screw it onto the backplate.